


Fast and safe assembly
Easily install the antivibration on your mount
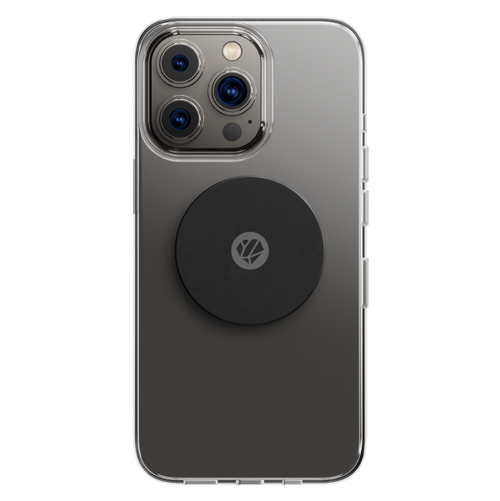
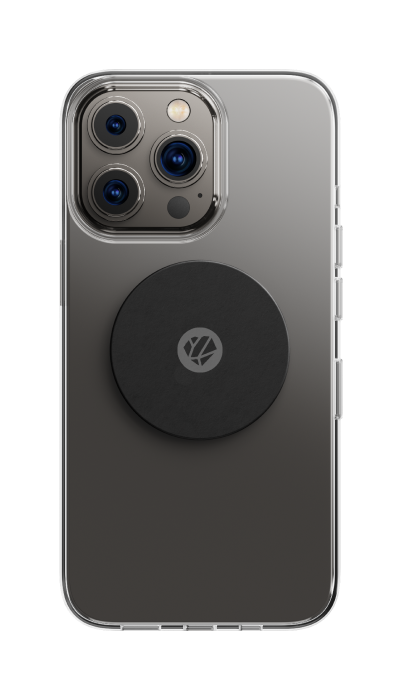
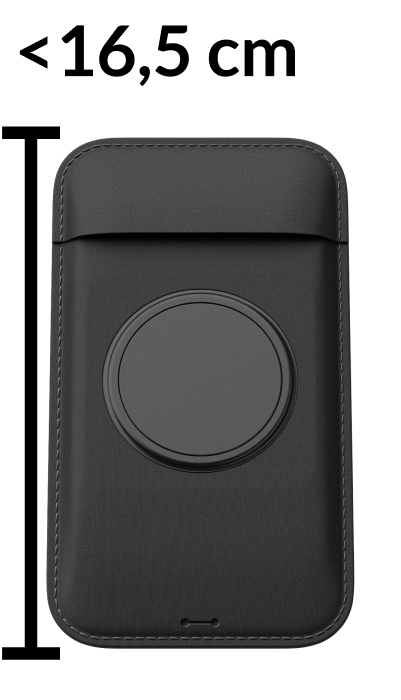
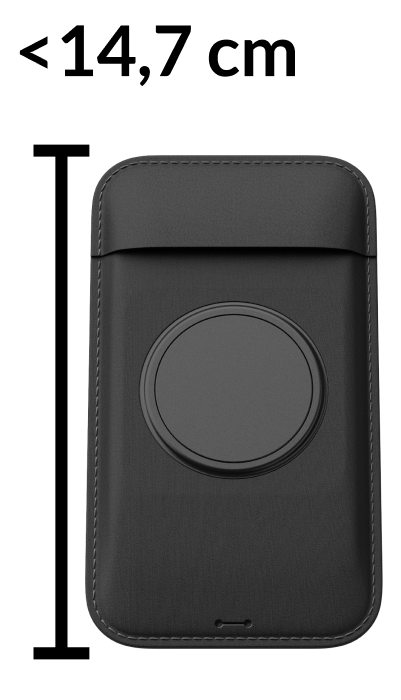
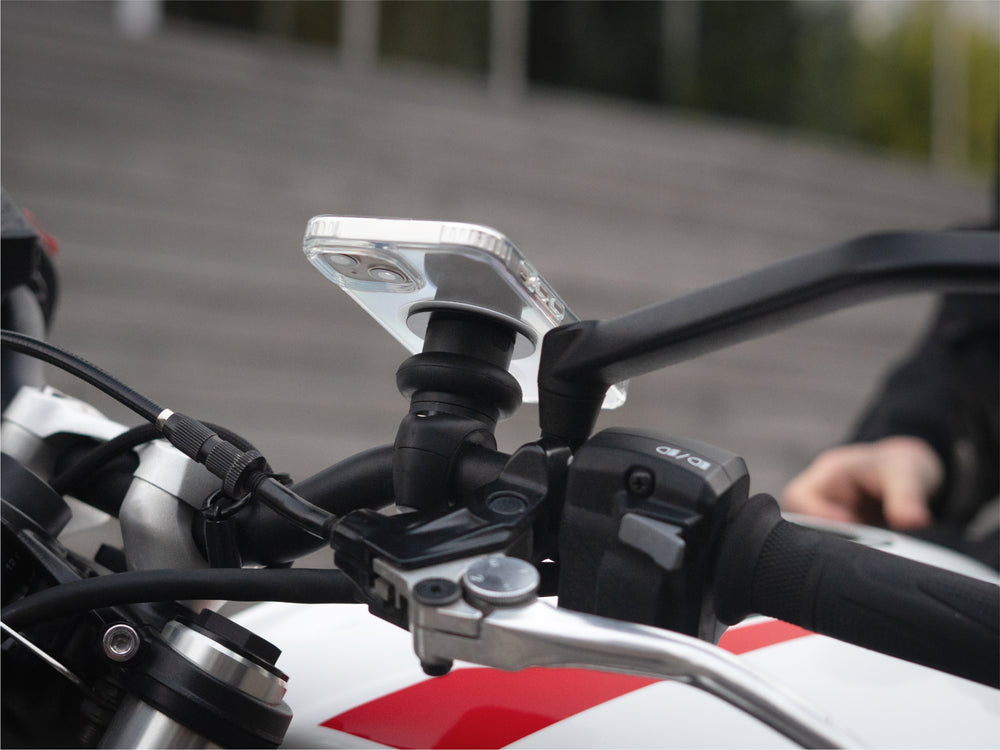
Protect your smartphone
From vibrations
2 Wheels, One Safe Ride
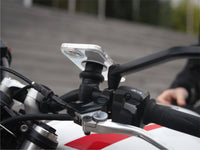
Your phone, securely mounted
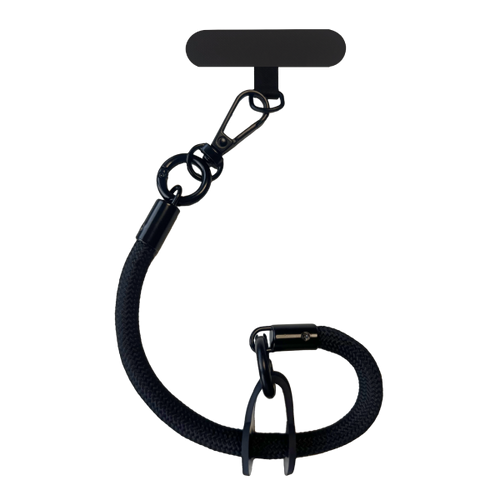
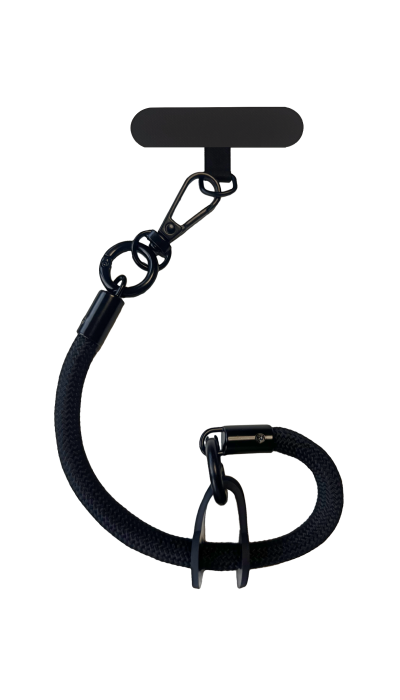
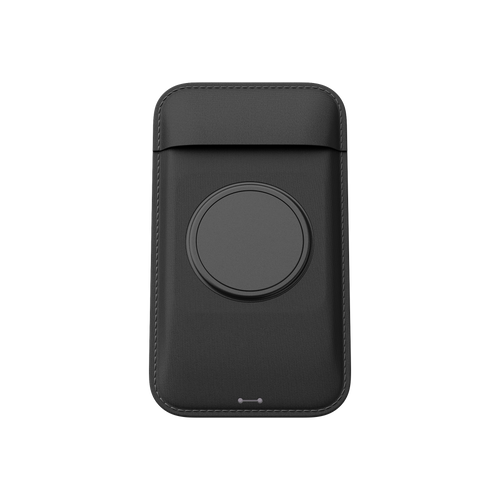
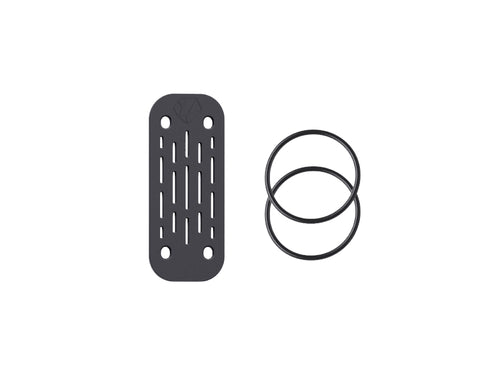
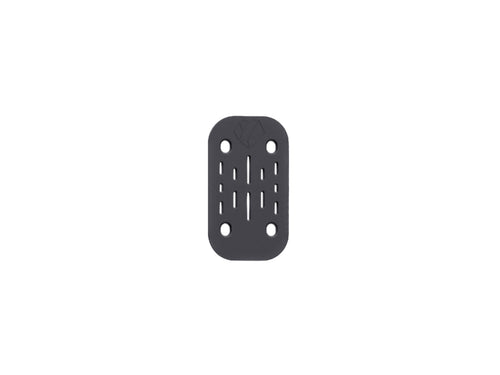
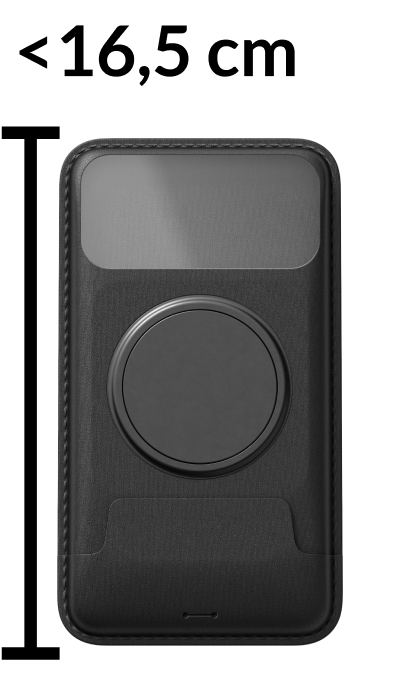
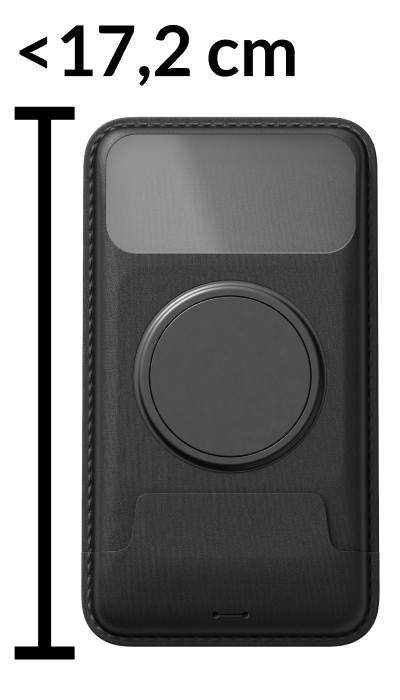
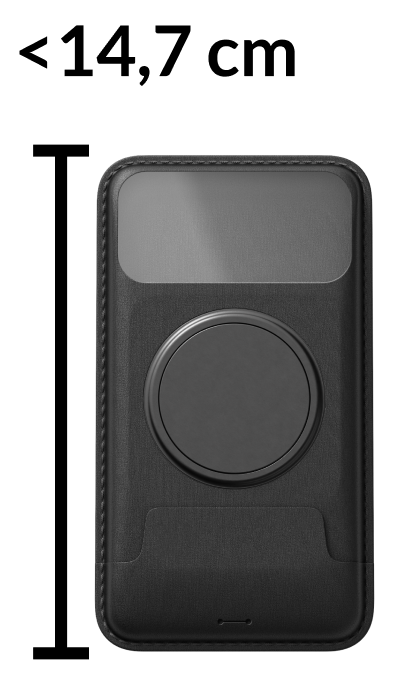
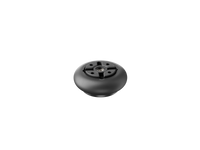
Vibration Damper
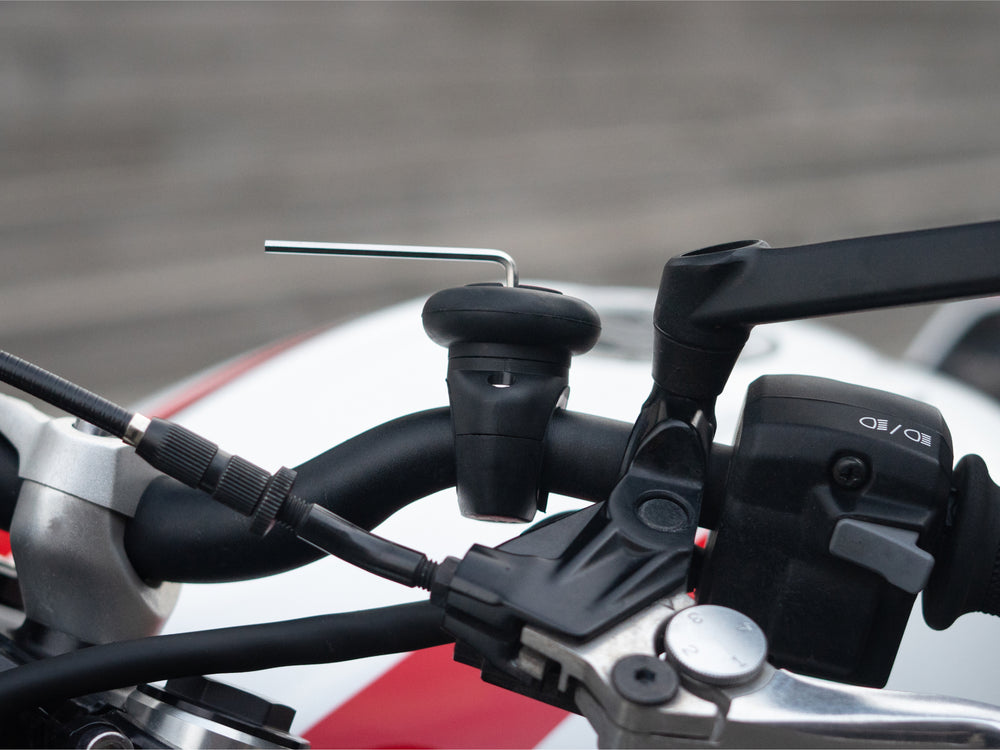
Mounting Instructions
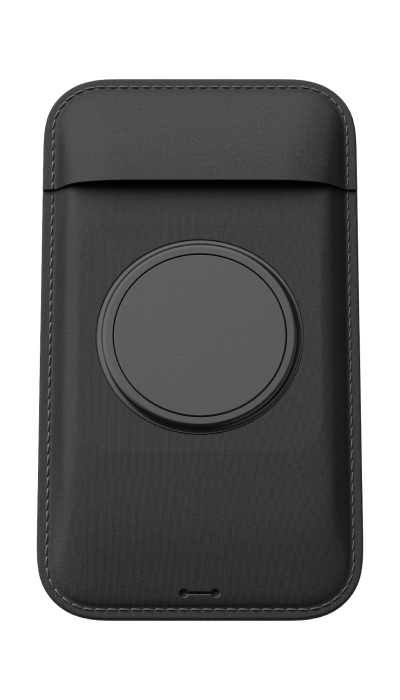
Vibration Damper
Mounting Instructions
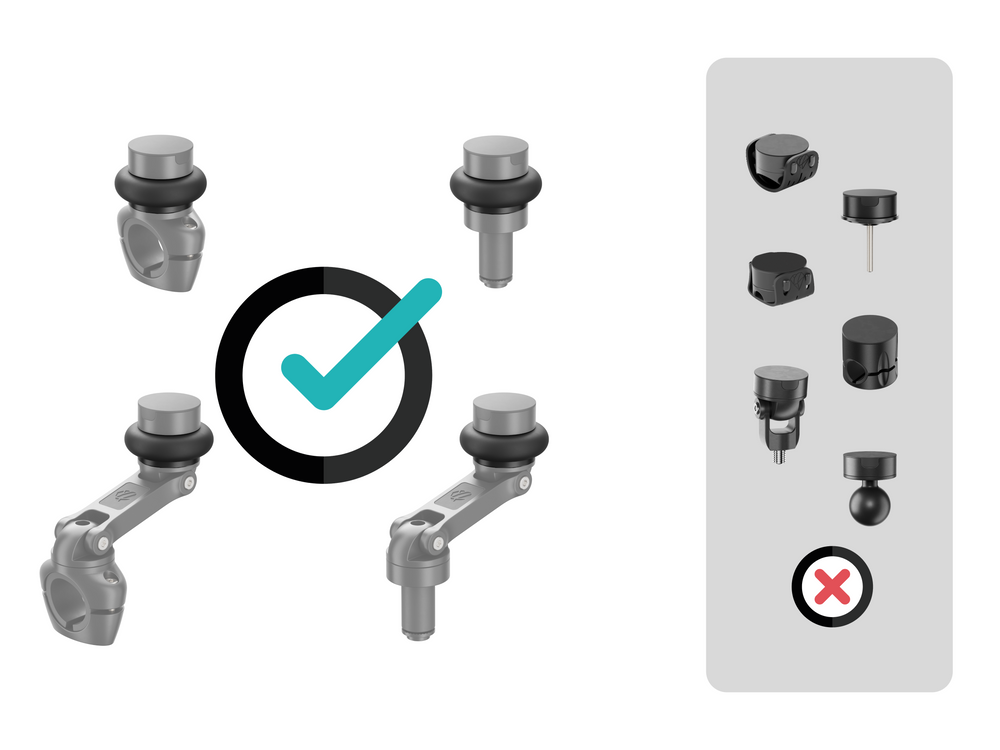
The anti-vibration system can only be attached to:
- Motorcycle or Bike PRO mounts
- Motorcycle PRO Boost mounts
- Half-handlebar motorcycle mounts
- Half-handlebar Boost mounts
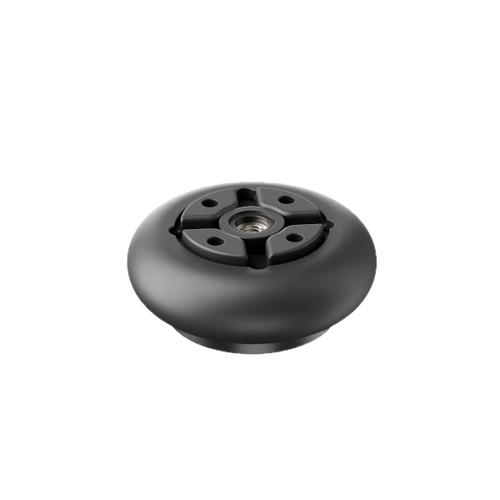
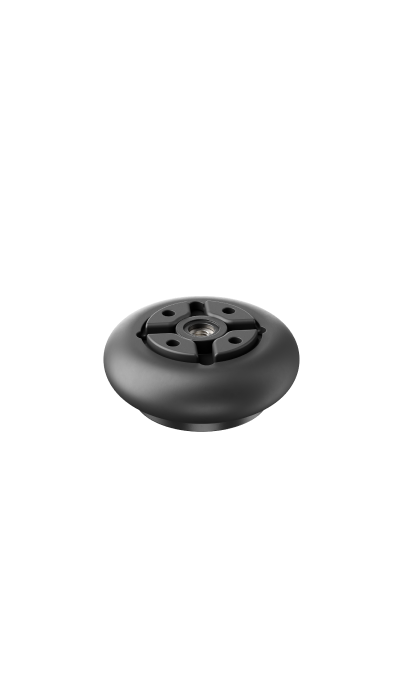
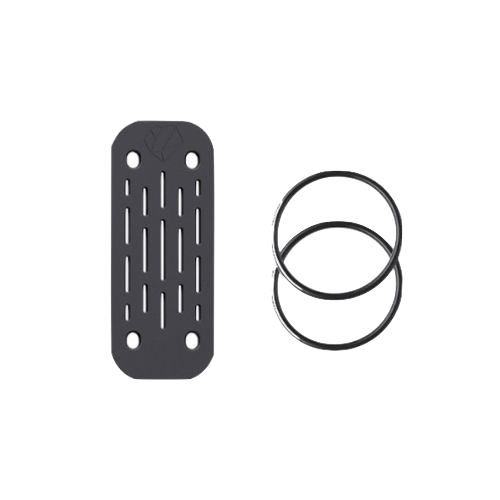
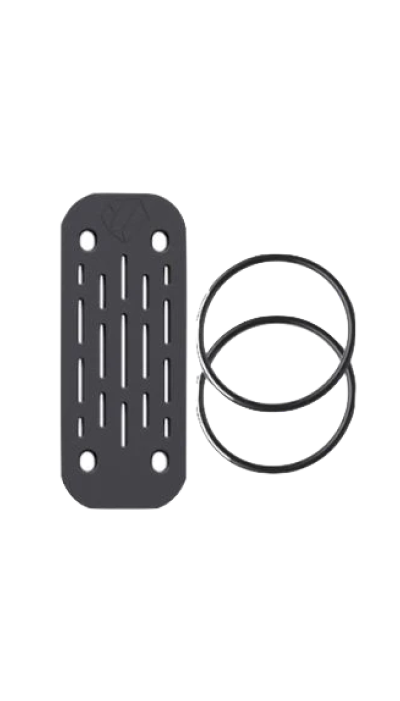
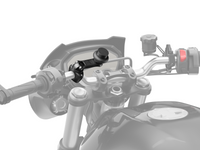
1. Unscrew the magnetic base from your mount.
2. Screw the anti-vibration device to the lower part of the bracket, tightening it securely with the Allen key. It is important to tighten the screw until it is no longer possible to turn the Allen key.
3. Reattach the upper part of the mount to the anti-vibration system (tighten with the Allen key) and replace the rubber cover.
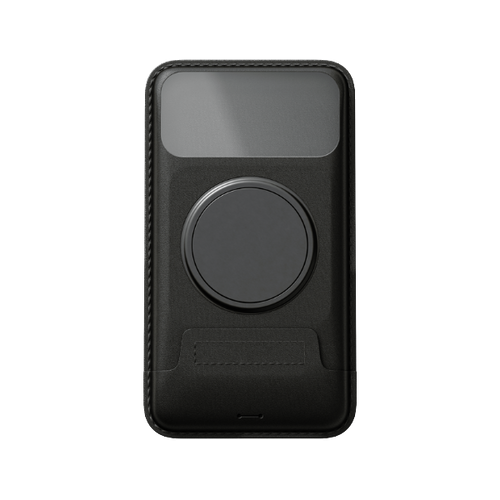
Explanations
High-frequency vibrations
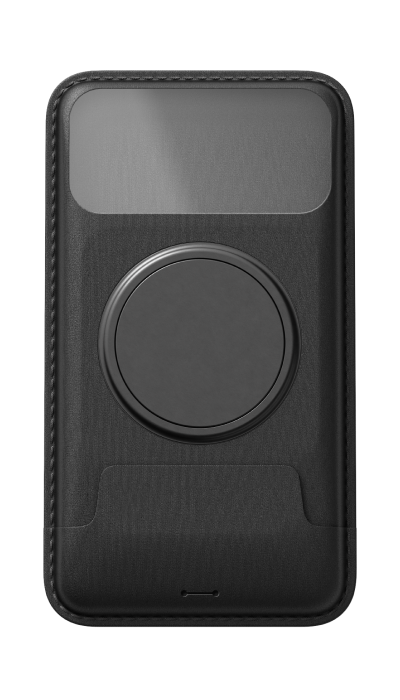
Explanations
High-frequency vibrations
When you attach your phone to your motorcycle or scooter, it may be subjected to certain high-frequency vibrations emitted by your vehicle's engine. These vibrations can damage your phone's camera (the optical stabilizer). Anti-vibration dampens these high-frequency vibrations.
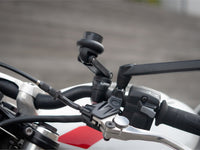
In the video, when subjected to very high-frequency vibrations, the anti-vibration mount (left) stabilizes the phone; without the anti-vibration mount (right), the phone shakes.
For some bikes
The anti-vibration is necessary
For some bikes
The anti-vibration is necessary
- BMW: 310GS, F800 R/GS/GT, R nine T, R1200GS/RT, S1000R
- Ducati: Hypermotard, Monster, Multistrada, Supersport
- Harley Davidson : Fat Bob, Low Rider S, Street Bob, Wide Glide
- Honda : CB, CBR, CRF, Grom, Shadow
- Kawasaki: Er-6n, KLX, Ninja, Versys, Z650, Z900RS
- KTM & Husqvarna: all models
- MV Agusta : Brutale
- Suzuki: DRZ, GSF, GSX-R, GSX-S
- Triumph Bonneville, Rocket 3, Scrambler, Speed Triple, Speed Twin, Thruxton
- Yamaha: MT, FZ, Tracer, XJ600, XSR 700/900, R6, YZF-R1


Free delivery
From €49
Secure payments
Visa, Mastercard, Paypal, Apple Pay
At your service 7 days a week
7/7 customer service: contact@shapeheart.com
Product warranty
10 years by registering your product!