


Repainting a vintage bike
Do you have an old 90s racing bike that’s rusty and in need of a makeover? Want to give it a fresh look with a new paint job? Follow our tips to repaint your vintage racing bike.
Repainting an old bike takes time. Plan for about 2 full days of work (but it's worth it).
Why? Because you'll need to disassemble nearly everything, sand the bike (well), and apply several coats of paint while allowing time to dry.
What you will need:
-

Disassemble your bike
- A set of Allen keys / socket wrenches / screwdrivers (I recommend this Bosch one) + an adjustable wrench (for the crank extractor) or a few wrenches (9 to 13mm)
- (CRANKSET): a 14mm socket wrench
- (CRANKSET): a crank extractor
- (CHAIN): a chain breaker (otherwise, the chain remains stuck in the bike frame)
- (FRAME): a delta sander for the small corners of the frame (absolutely necessary to avoid spending 8 hours sanding the frame by hand)
-

Protecting yourself from paint
- A disposable paint suit
- An FFP3 mask
- A tarp (3m x 4m)
- Painter's tape
Approximately €20
-

Paint
- 1 can of Spray bike (enough for several coats)
- 1 can of Spray bike varnish (1 can is enough for multiple coats)
Approximate cost: €25


Step 1
Disassemble your bike and sand it down with a delta sander.
Important things to disassemble:
- All the cables (take the opportunity to replace them), the saddle, derailleurs, brakes, wheels (obviously) but not the cassette
- With the chain tool: the chain
/!\ Make sure not to completely remove the pin from the chain, but leave the end of the pin in the flat part, otherwise, you won’t be able to reassemble it /!\
- With the 14mm socket wrench and crank puller: the crankset (impossible to paint otherwise)
Be sure to place all the pieces of your vintage bike in a glass jar to avoid losing anything.
Remove the rust with white vinegar and baking soda, then lubricate them.
Less important parts to disassemble (they can be covered with painter's tape): the handlebars, bottom bracket, fork (apply tape carefully).


Step 2
Apply the layers of paint and varnish.
Before getting started, make sure to protect yourself with a mask and coveralls and to protect the surface you’ll be working on.
Drying time: The paint and varnish dry to the touch in 10 minutes, but they fully dry in 2 hours.


Step 3
Let it dry and reassemble your bike.
No tutorial for this part, I assume you've disassembled your vintage bike, so you should know how to reassemble it 😉
Take the opportunity to change the brake cable and housing, to oil/grease/clean all the parts you can get your hands on!
And enjoy the ride on your brand-new bike!
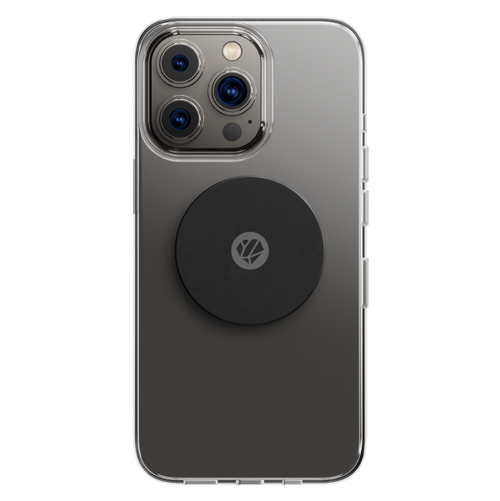
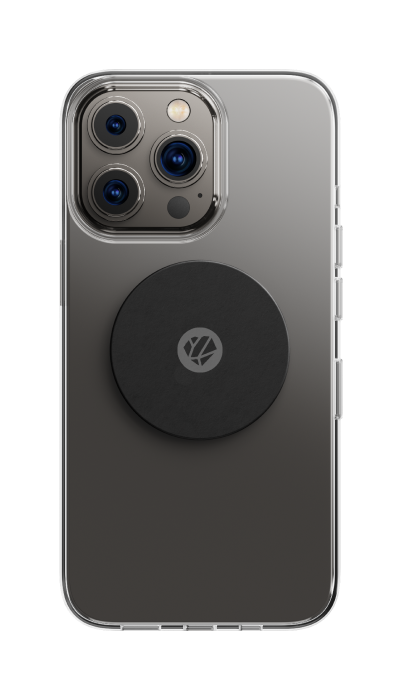
PS: Don’t forget the final touch, your Shapeheart mount, to have easy access to your GPS and other phone features directly on your handlebars.


Want to discover our latest articles ...
View all-
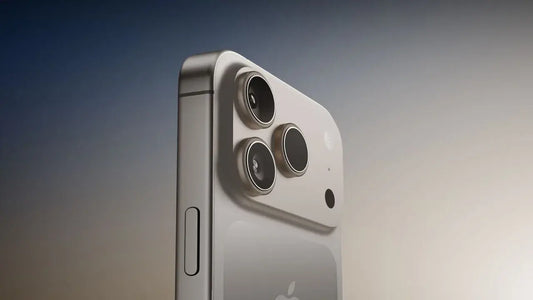
New iPhone 17 and Shapeheart: the perfect combi...
The iPhone 17 is here, and to get the most out of it, there's nothing better than Shapeheart magnetic mounts. Compatible with all uses (motorcycle, bicycle, running, car), our accessories...
New iPhone 17 and Shapeheart: the perfect combi...
The iPhone 17 is here, and to get the most out of it, there's nothing better than Shapeheart magnetic mounts. Compatible with all uses (motorcycle, bicycle, running, car), our accessories...
-
Top 3 Motorcycle Road Trips to Take in Europe
Looking for freedom and adventure? Europe is full of spectacular roads to explore by motorcycle. Mountains, seaside, or wild landscapes: there's something for everyone. Discover the 3 most beautiful motorcycle...
Top 3 Motorcycle Road Trips to Take in Europe
Looking for freedom and adventure? Europe is full of spectacular roads to explore by motorcycle. Mountains, seaside, or wild landscapes: there's something for everyone. Discover the 3 most beautiful motorcycle...
-

Sportbikes: Speed, Technology and Precision
Sharp design, roaring engine, engaged riding position... Sports bikes fascinate as much as they impress. True concentrations of technology and precision, they are built for performance. But whether you ride...
Sportbikes: Speed, Technology and Precision
Sharp design, roaring engine, engaged riding position... Sports bikes fascinate as much as they impress. True concentrations of technology and precision, they are built for performance. But whether you ride...


