


Repainting a vintage bike
Do you have an old 90's race bike that's been sitting around and is starting to get rusty? Do you want to give it a facelift with a new paint job? Then follow our tips for repainting your vintage race bike.
Repainting an old bike takes time. It takes about 2 days of work (but it's worth it).
The cause? You have to dismantle almost everything, sand the bike (better) and then apply the paint layers while letting them dry.
What you will need:
-

Disassemble your bike
- a wrench kit hex / pipe wrench / screwdriver (I recommend the one from Bosch) + a adjustable wrench (for the crank extractor) or some open-end wrenches (9 to 13mm)
- (PEDALS) : a 14 mm pipe wrench
- (PEDALS) : a crank puller
- (CHAIN): a chain drift (otherwise the chain stays in the frame of the bike)
- (FRAME) : a delta sander for the small corners of the frame (absolutely necessary to avoid spending 8 hours sanding your frame by hand)
-

Protecting yourself from paint
- A disposable paint suit
- A FFP3 mask
- A tarp (3m x 4m)
- Paint tape
Count about 20€.
-

Paint
- 1 Spray bike can (enough for several layers)
- 1 can of Spray bike varnish (1 can is enough to do several coats)
Count about 25€.


Step 1
Dismantle your bike and sand it with a delta sander
The hyper-important stuff to take down:
- All the wiring (take the opportunity to renovate your cables), the saddle, the derailleurs, the brakes, the wheels (of course) but not the cassette
- With the chain drift: the chain
/!\ Remember not to remove the pin entirely from the chain, but to leave the end of the pin in the flat part, otherwise you will not be able to reassemble it /!\
- With the 14 mm pipe wrench and the crank extractor: the crankset (impossible to paint otherwise)
Put all the parts of your vintage bike in a glass jar to avoid losing anything.
Remove rust with white vinegar and baking soda and lubricate.
The less important elements to be dismantled (possibility to cover them with the paint tape): the handlebars, the bottom mount, the fork (apply well on the tape).


Step 2
Applying paint and varnish layers
Before you start thinking, remember to protect yourself with the mask and the suit and to protect the surface on which you will be working.
Drying time: the paint and varnish dry to the touch in 10 minutes, but they dry completely in 2 hours.


Step 3
Let your bike dry and reassemble it
No tuto for this part, a priori you have disassembled your vintage bike, you know how to reassemble it 😉
Take advantage of this opportunity to change brake cables and sheaths, to oil / grease / strip all the parts you can find!
And have a great ride on your brand new bike!
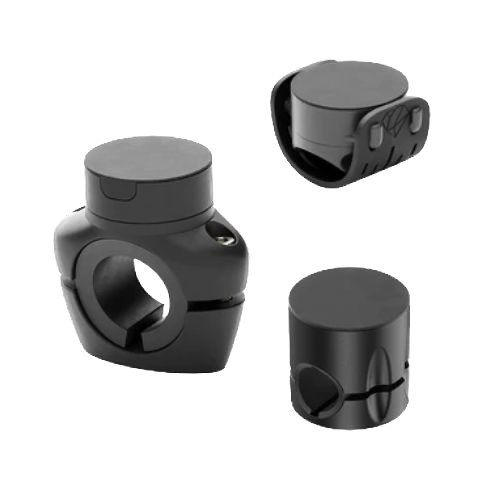
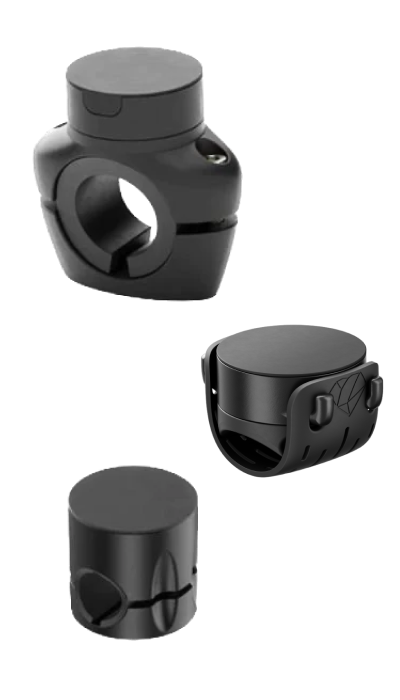
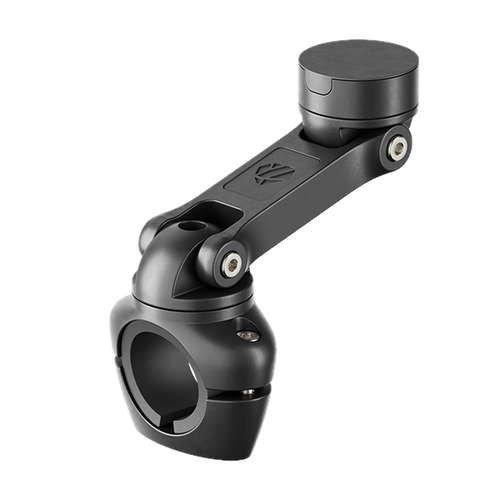
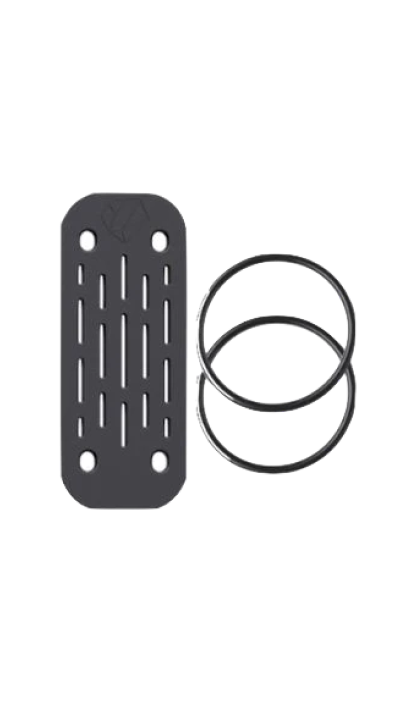
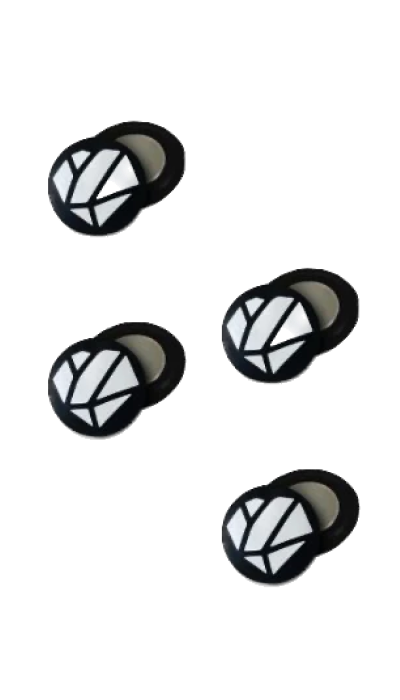
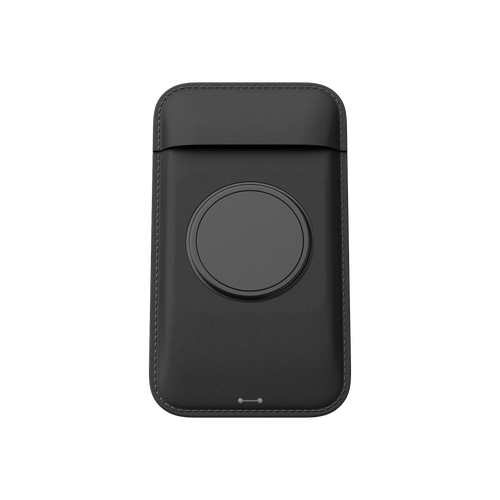
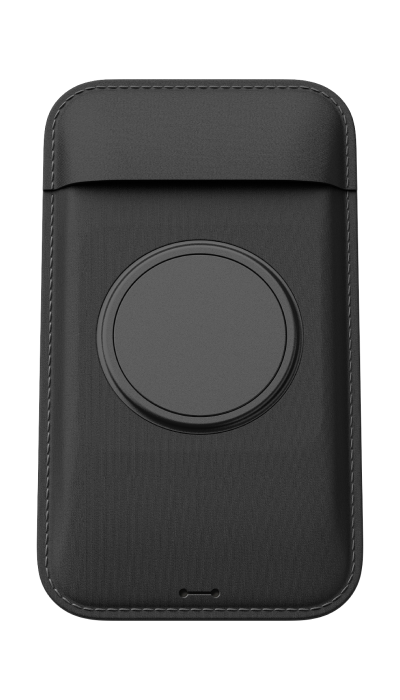
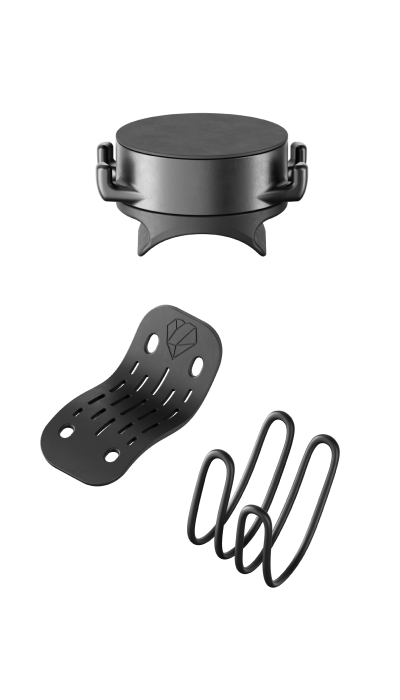
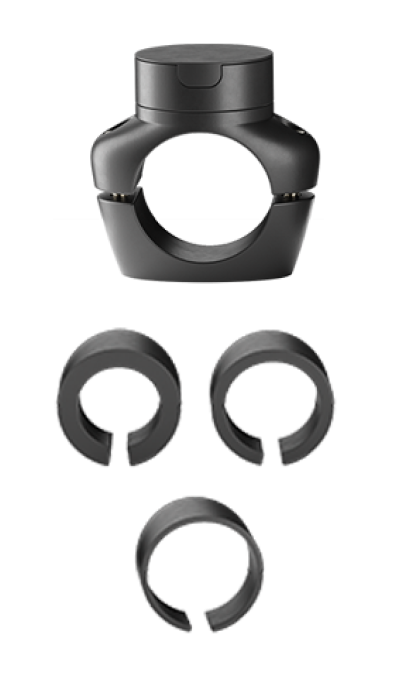
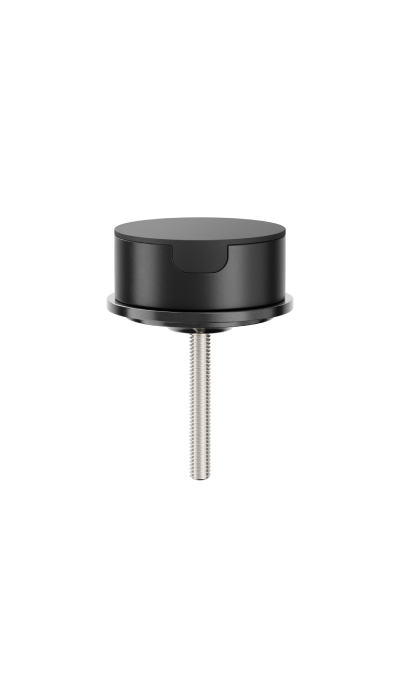
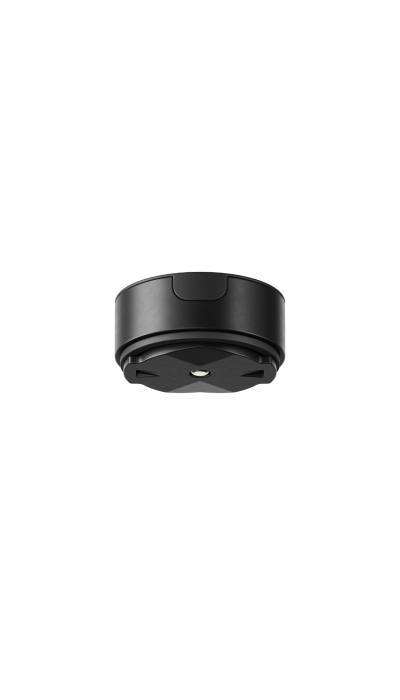
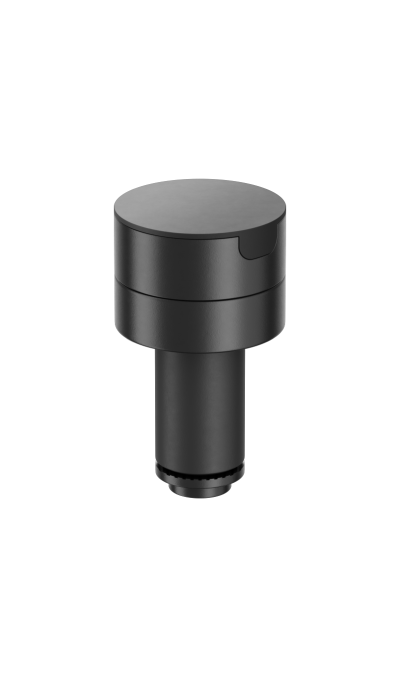
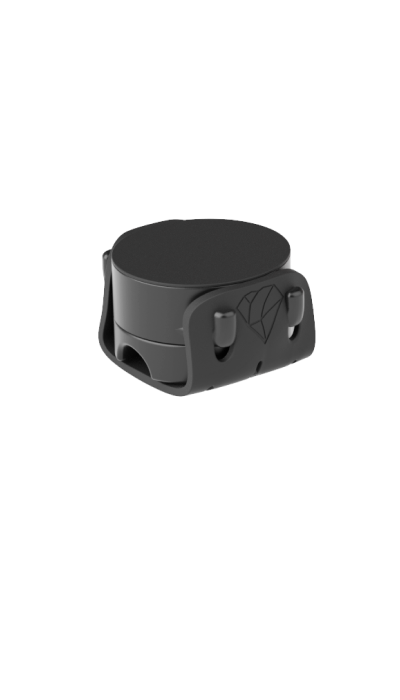
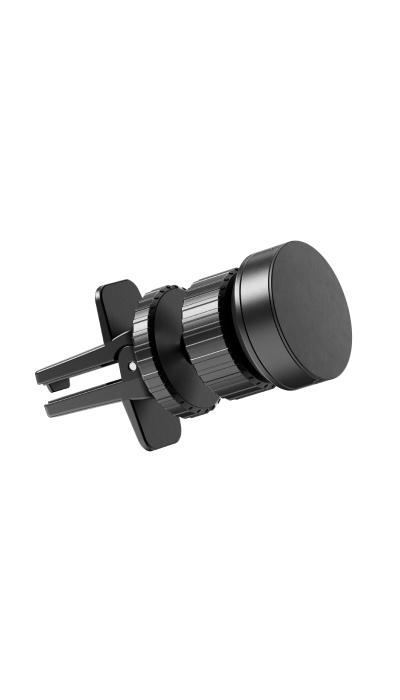
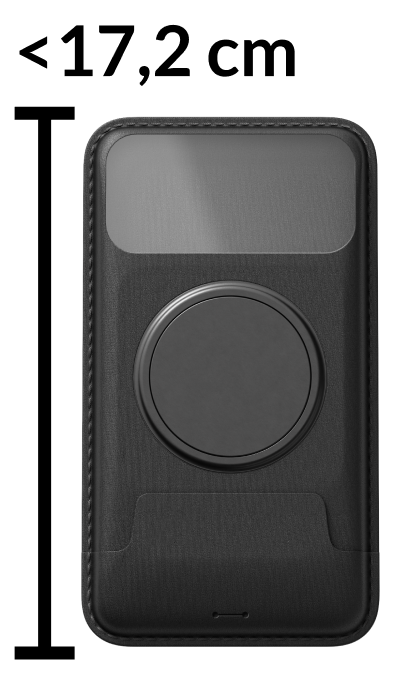
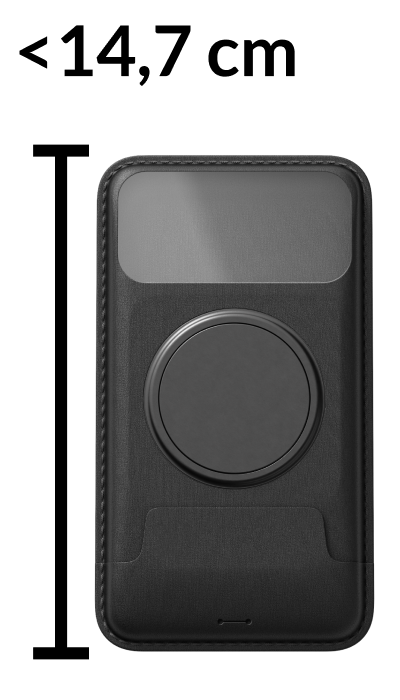
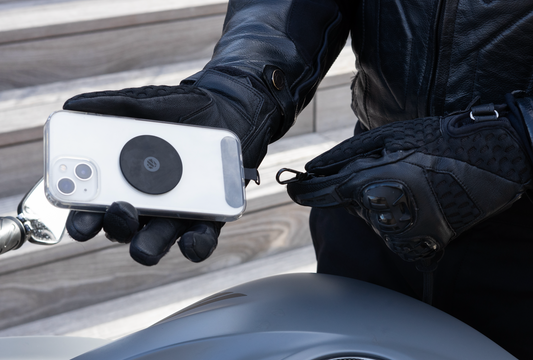
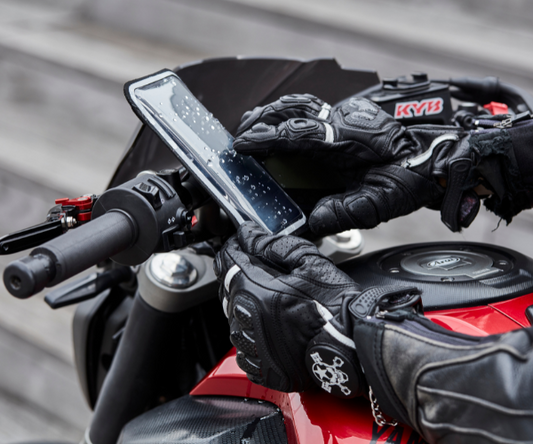
PS: don't forget the final touch, your Shapeheart mount to have easy access to your GPS and other functions of your smartphone directly on your handlebar.


Want to discover our latest articles ...
View all-
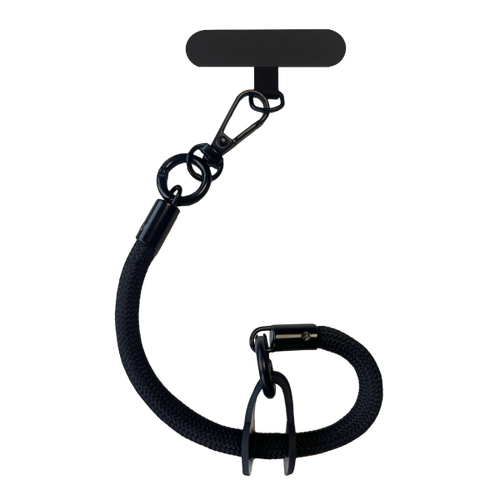
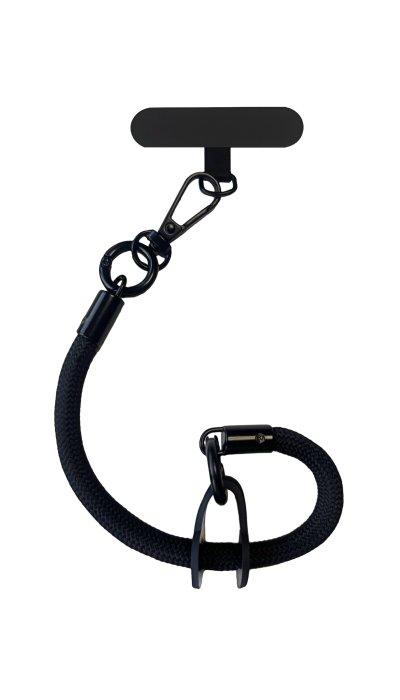
Our safety cord: essential for the...
As motorcycle and bicycle enthusiasts know, the freedom you feel on two wheels is incomparable. However, this freedom must not be allowed to obscure the fact that safety...
Our safety cord: essential for the...
As motorcycle and bicycle enthusiasts know, the freedom you feel on two wheels is incomparable. However, this freedom must not be allowed to obscure the fact that safety...
-

Customize your bike: make it unique
Motorcycle customization lets you transform your machine into a rolling work of art, tailored to your tastes and riding style. Let's explore the different facets...
Customize your bike: make it unique
Motorcycle customization lets you transform your machine into a rolling work of art, tailored to your tastes and riding style. Let's explore the different facets...
-
Tips for winterizing your motorcycle
The arrival of winter brings new challenges on snowy and icy roads. Riding a motorcycle in winter can be an epic experience, but it requires a...
Tips for winterizing your motorcycle
The arrival of winter brings new challenges on snowy and icy roads. Riding a motorcycle in winter can be an epic experience, but it requires a...


